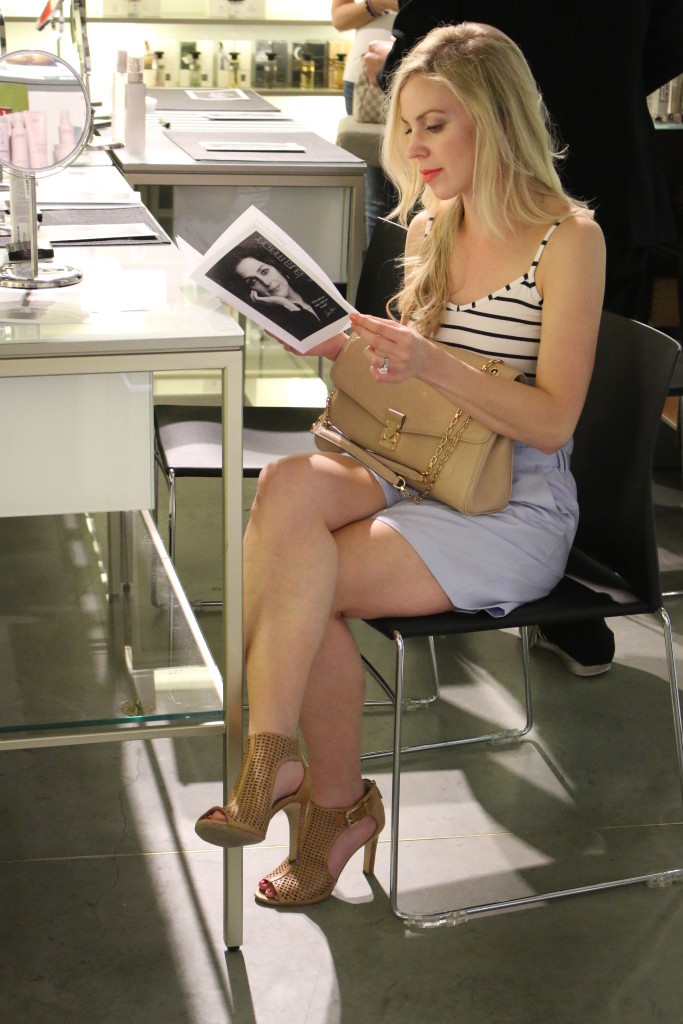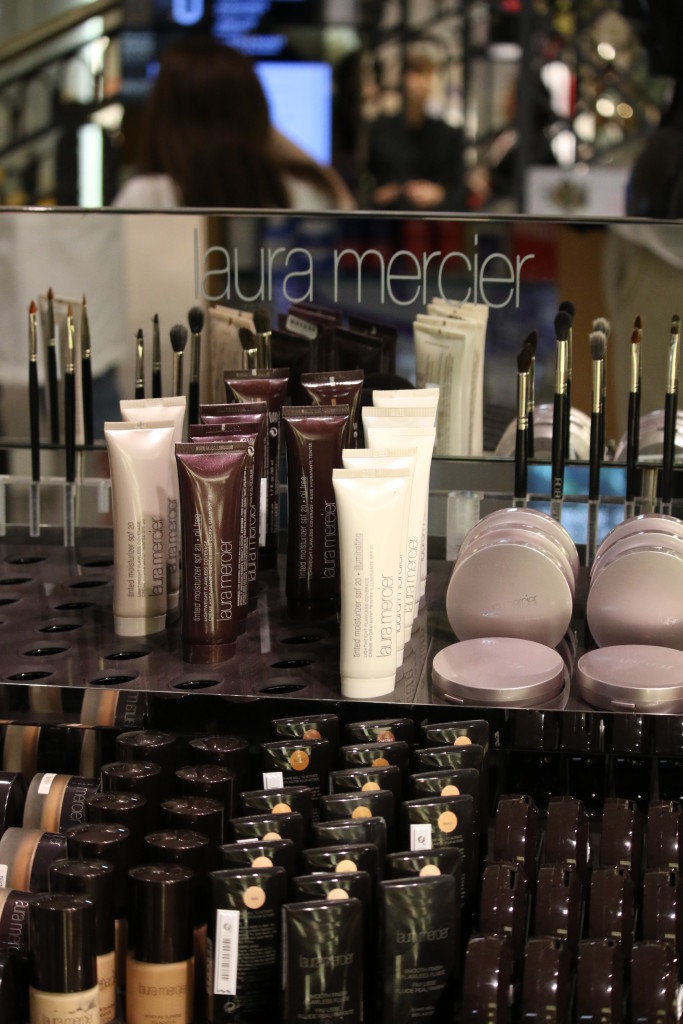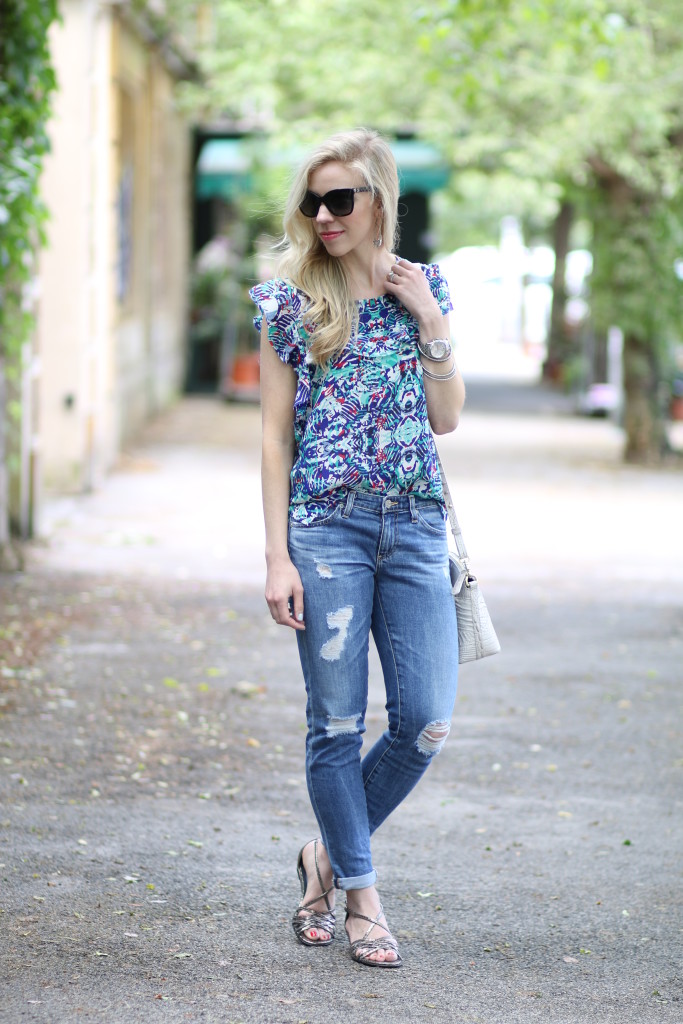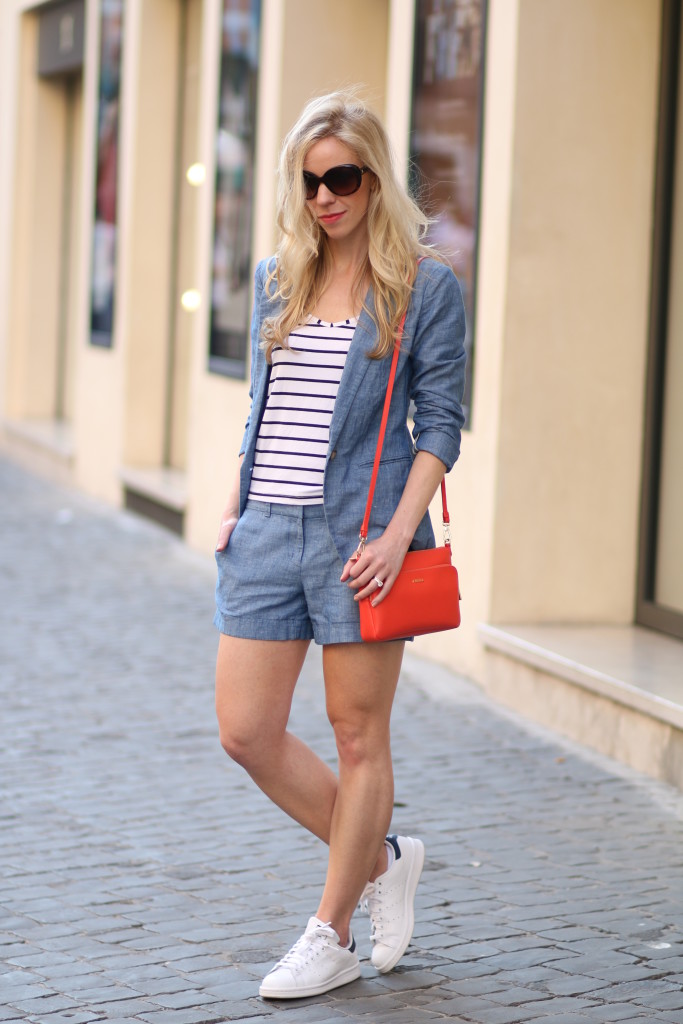
 Happy Tuesday! I’m bringing a two-part post today featuring what I wore to a beauty presentation as well as the details on the event itself. The makeup tutorial event was held at a Coin department store in Rome featuring an artist from Laura Mercier, and I wanted to share my experience learning how to apply the products.
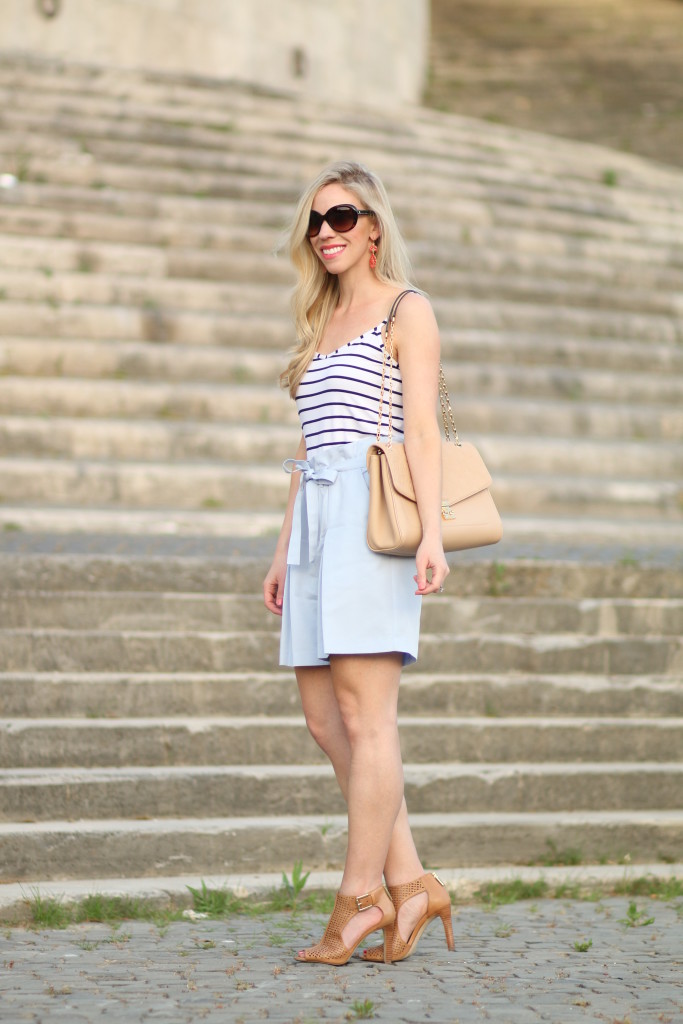
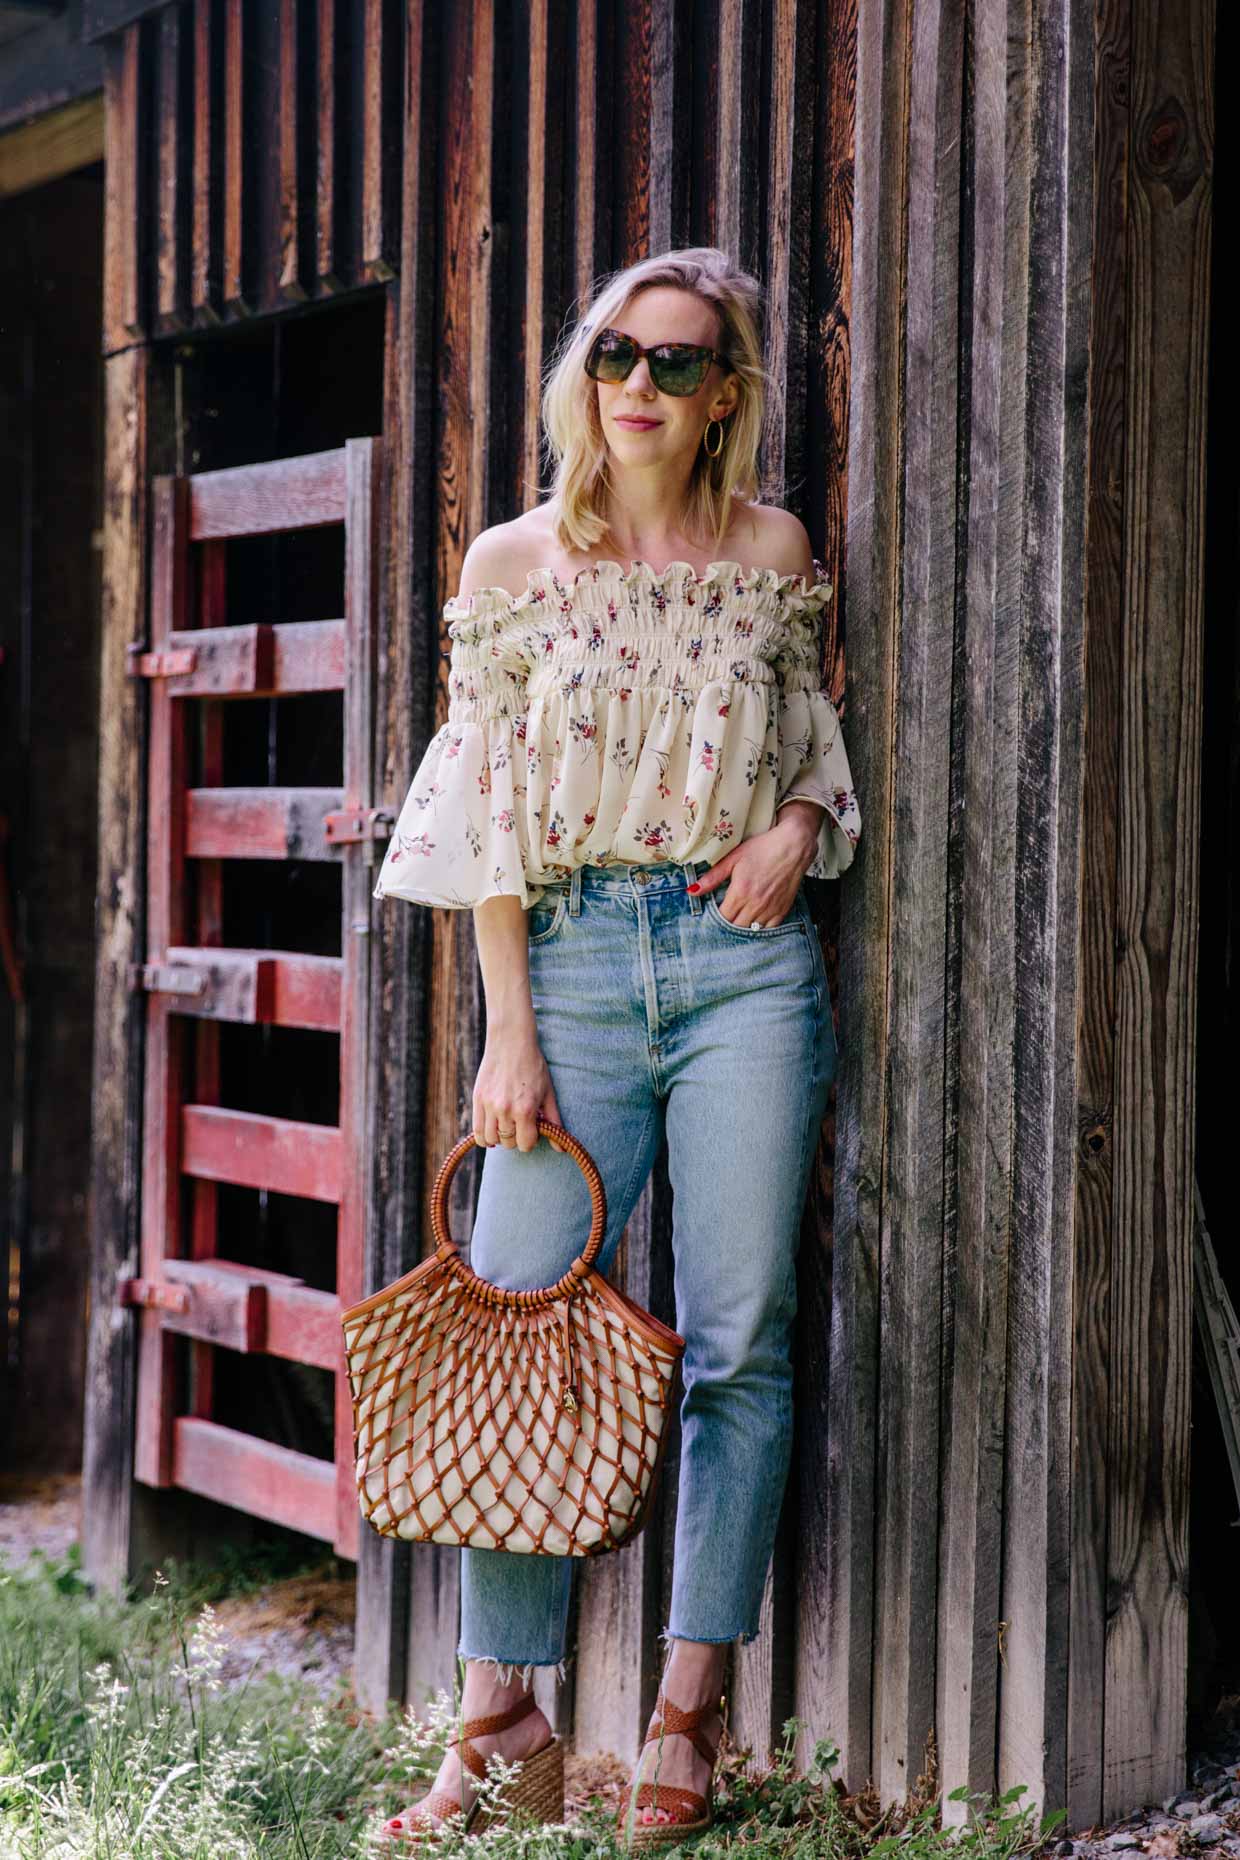
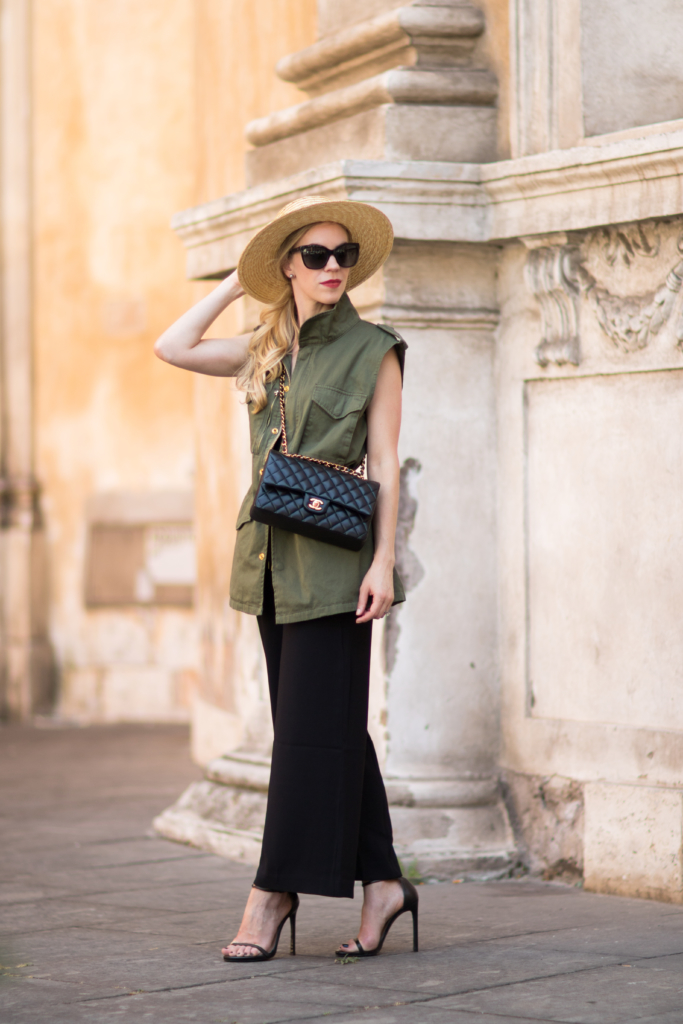
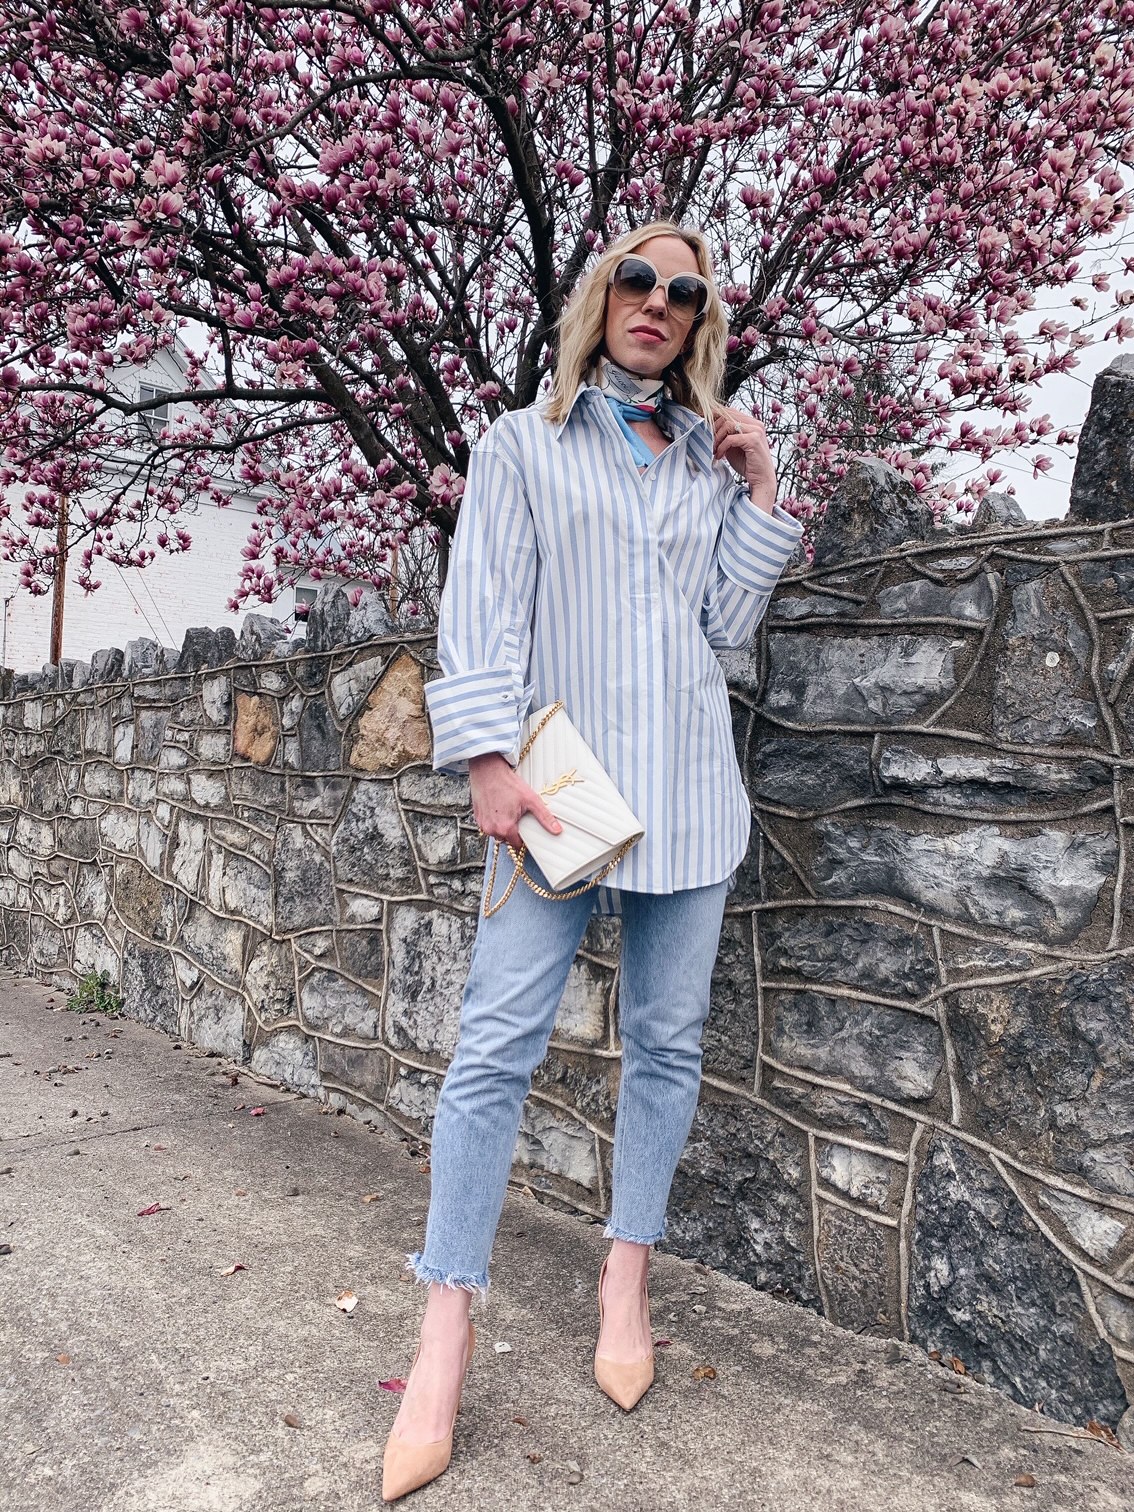
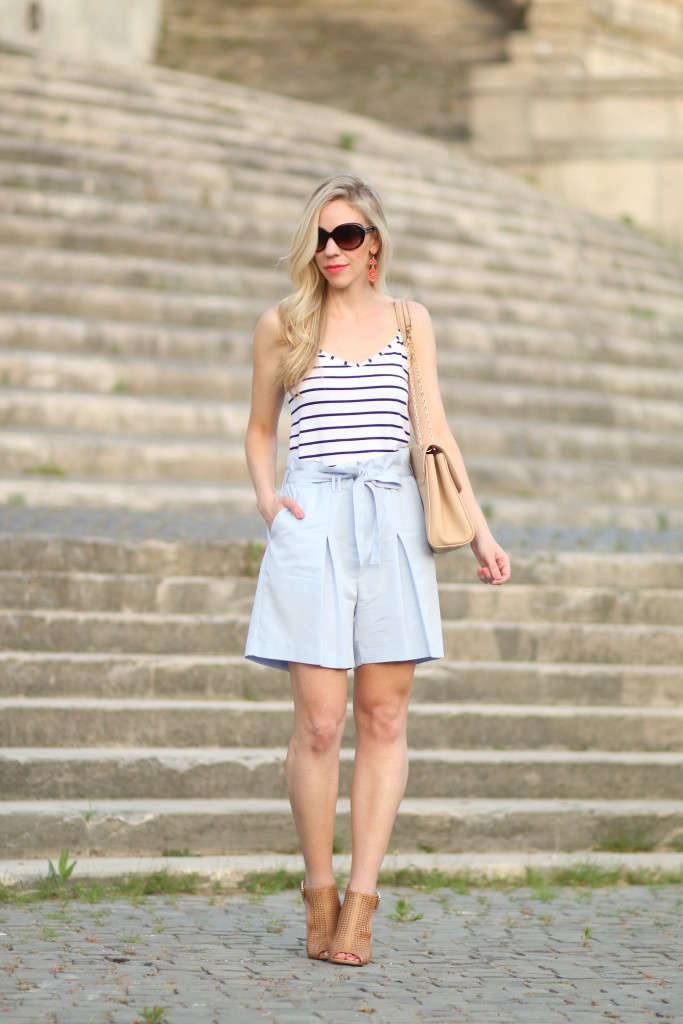
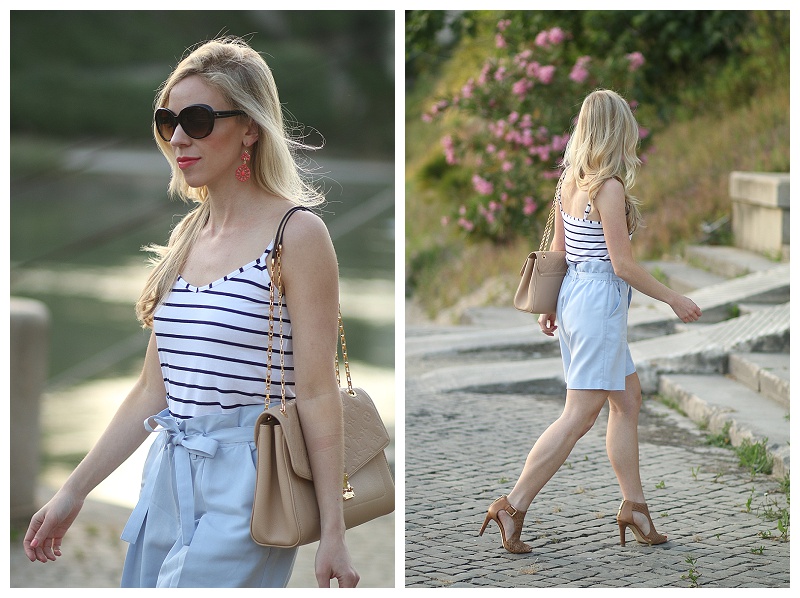
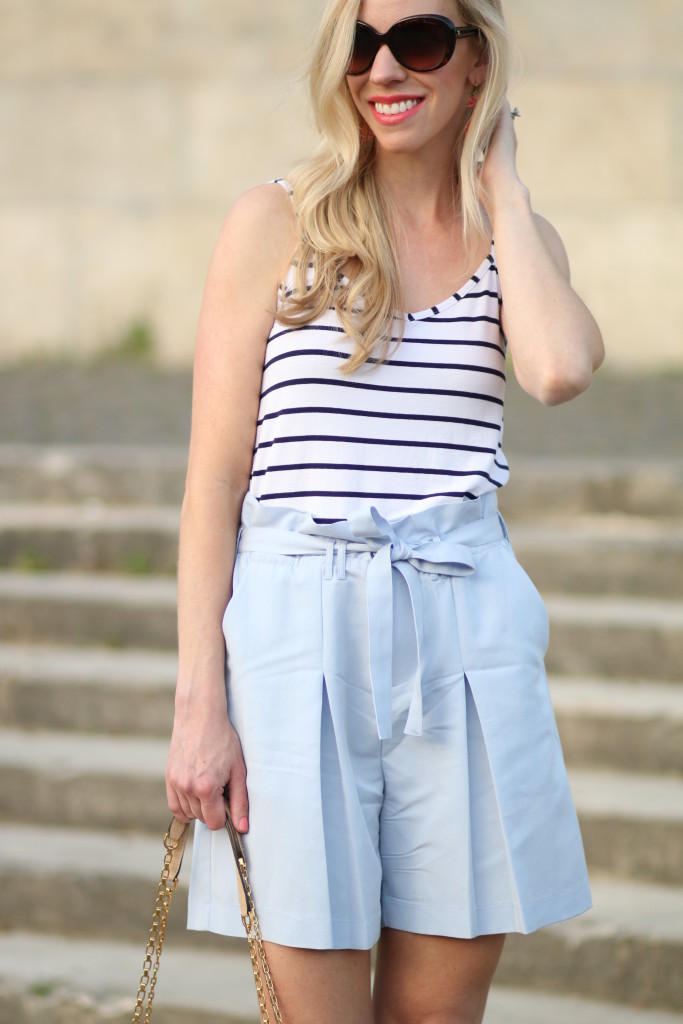
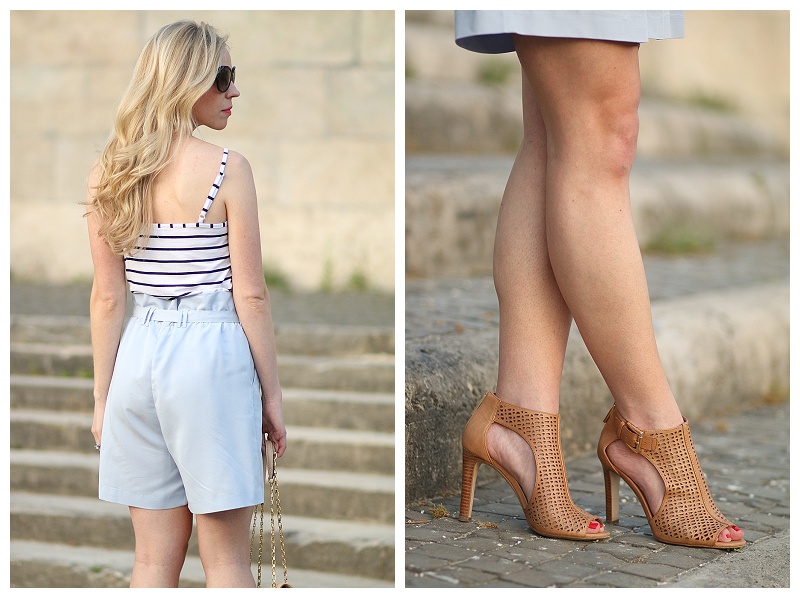
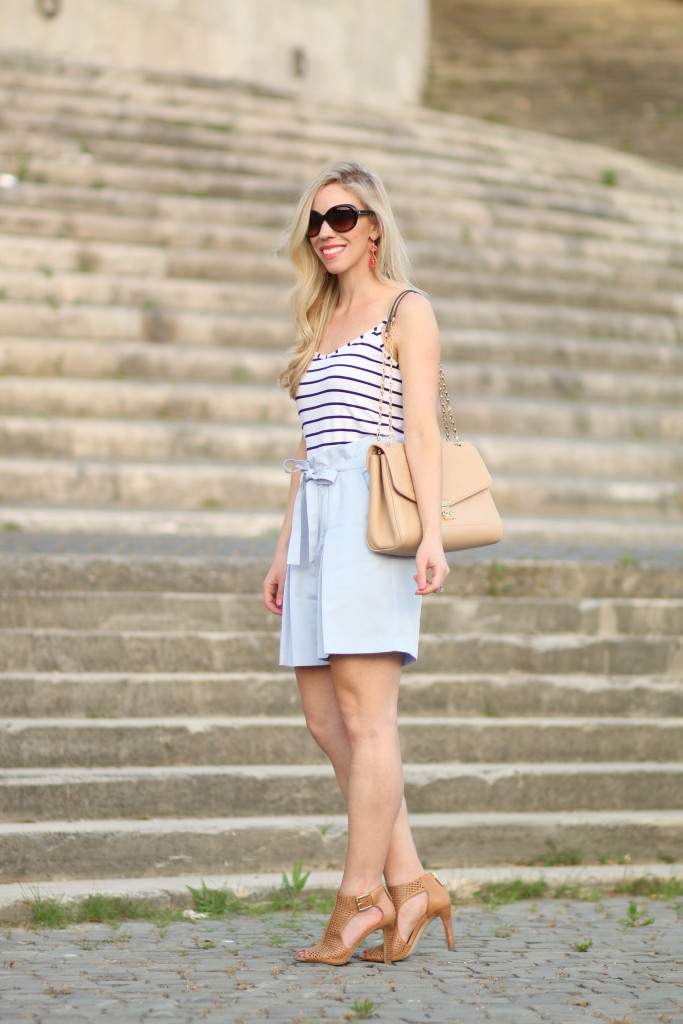
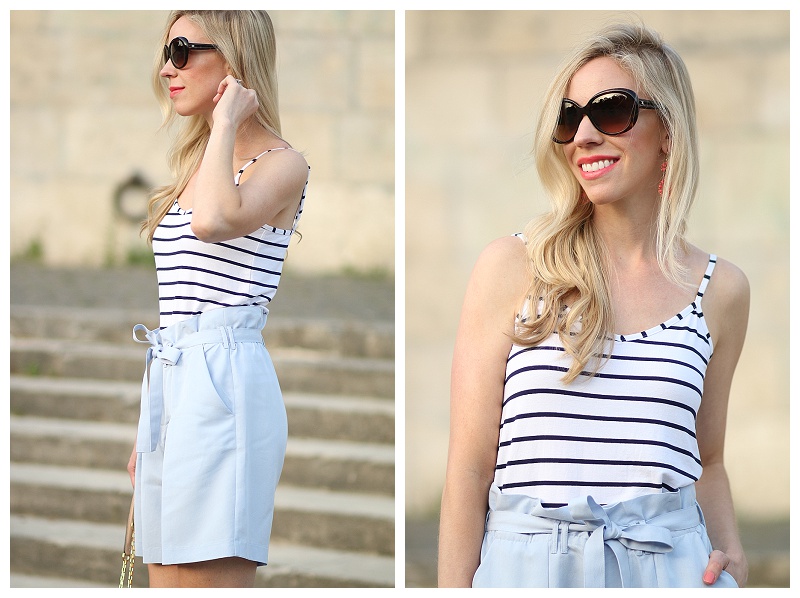
As for my outfit, paperbag waist shorts are something I’ve been eager to try. While I love the high waist and soft fabric of this pair, they are a little long on me, so I wore heeled booties for a leg-lengthening effect. A navy striped camisole added a touch of nautical appeal and coral earrings with a bright coordinating lip completed this summery look.
Continue reading below to find out what I learned for applying natural makeup from Laura Mercier!
- Top (ASOS; similar and here)
- Earrings (Target; another beautiful pair)
- Sunglasses (Chanel)
- Shorts (Piperlime–no longer available; this pair is on sale)
- Booties (Nordstrom; similar)
- Bag (Louis Vuitton)
- Lip (Estée Lauder ‘Surreal Sun’)
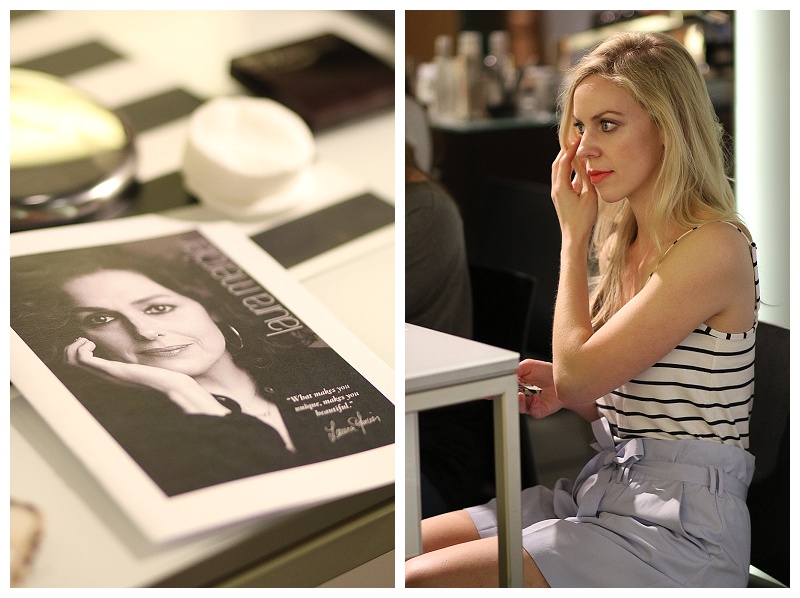 We were asked to remove all makeup before the session began–before now, my naked face is something I’ve never shown on the blog!
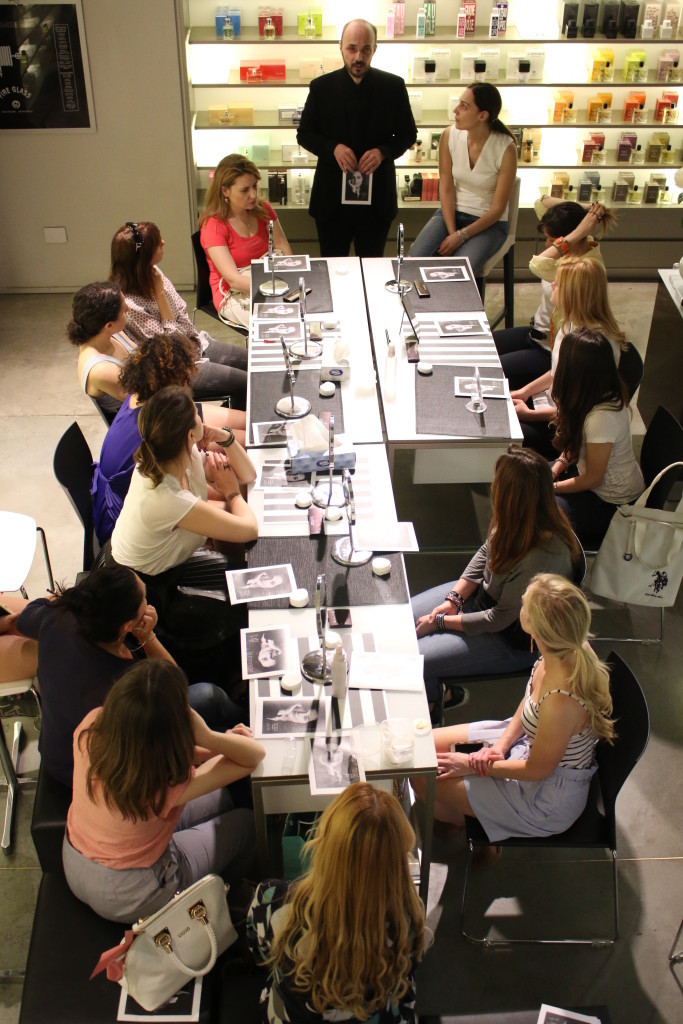 The makeup artist gave us the lowdown on Laura Mercier products and what we could expect to learn today about creating the ‘Flawless Face.’ The goal for this lesson was to learn the basic principles for the application of your makeup ‘base’ following the steps below which I will break down in sequence. You can also find shoppable links for all of the products shown at the bottom of this post!
Step 1: Prime the skin
Step 2: Apply foundation
Step 3: Conceal imperfections and dark undereye circles
Step 4: Set makeup with powder
Step 1: Prime the skin
Using a fingertip, we dotted a tiny bit of primer (I used oil-free) on the forehead, nose, cheeks, and chin before spreading it out in a drumming motion: think of how you look while drumming your fingertips in a bored manner and do that over your face–strange, I know, but it works well for blending smoothly and evenly. Sorry there aren’t any photos for this step–my photographer hubby was browsing the store during this part!
Step 2: Apply foundation
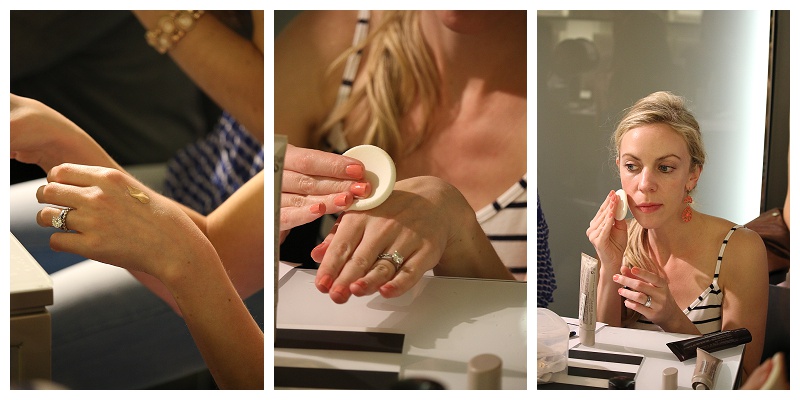
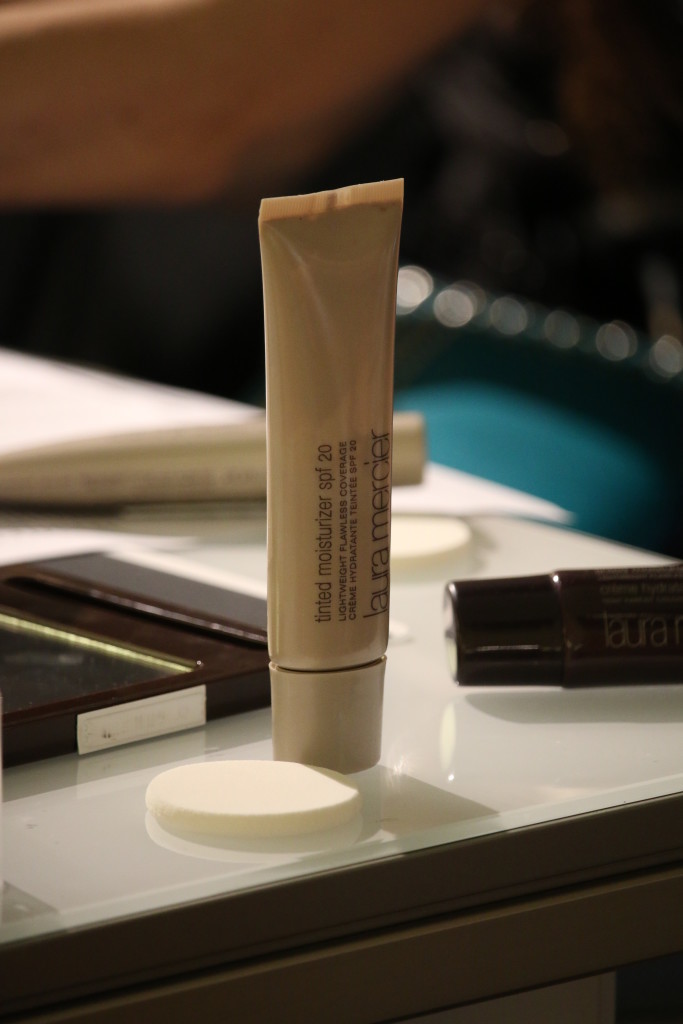
My skin was already primed before these photos were taken, so this is skipping ahead to the second step. Laura Mercier suggests squeezing a dot of foundation onto the back of your hard and allowing it to warm up on your skin before applying with a sponge. I currently use Bare Minerals loose mineral powder foundation and have been for years, so I was unsure how I would feel about a liquid formula, but was pleasantly surprised by how smooth and even this went on using a makeup sponge (which can last for several months by washing and reusing). I will note that for this step, I didn’t use a traditional liquid foundation: since my skin is oily, the makeup artist recommended the tinted moisturizer for me. Since this formula is sheer and light, I think it would be a great addition to my summer makeup routine.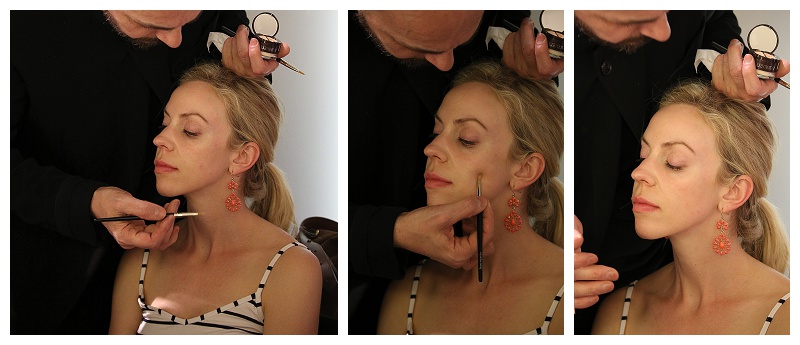 Step 3: Conceal imperfections and blemishes
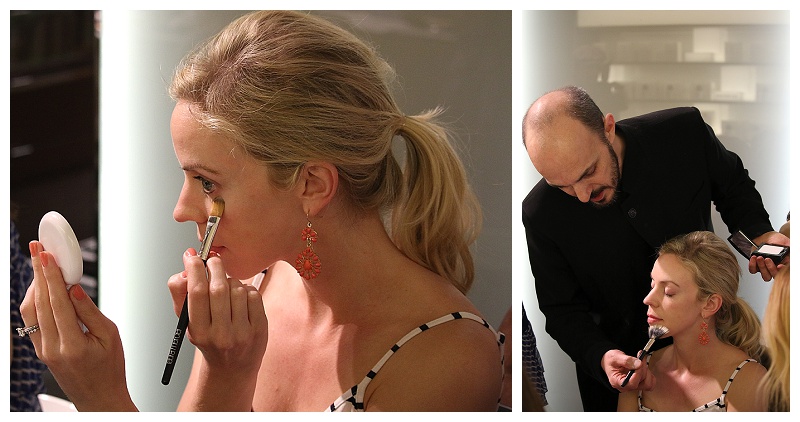
Using a gentle pressing motion, the makeup artist showed me how to apply Secret Camouflage concealer using the Secret Camouflage brush. Notice how my blemish literally disappeared from the first to last photo–I am definitely adding this product to my rotation! Please note that you can buy the ‘Undercover Pot’ or ‘Secret Camouflage’ concealer and both offer the same product: however, there is one big difference between the two. With the Undercover Pot (shown in my hand below), you have two types of concealer in one package: the Secret Concealer for undereye and the Secret Camouflage for marks and blemishes. The Secret Camouflage palette contains a unique two-shade system that is specific to imperfections only (not undereye): one to match the skin’s depth of color and one to match the skin’s undertone, making it possible for every woman to custom-blend her own perfect shade. I like both, but personally will be purchasing the Undercover Pot so I will have both undereye and blemish concealer at my fingertips.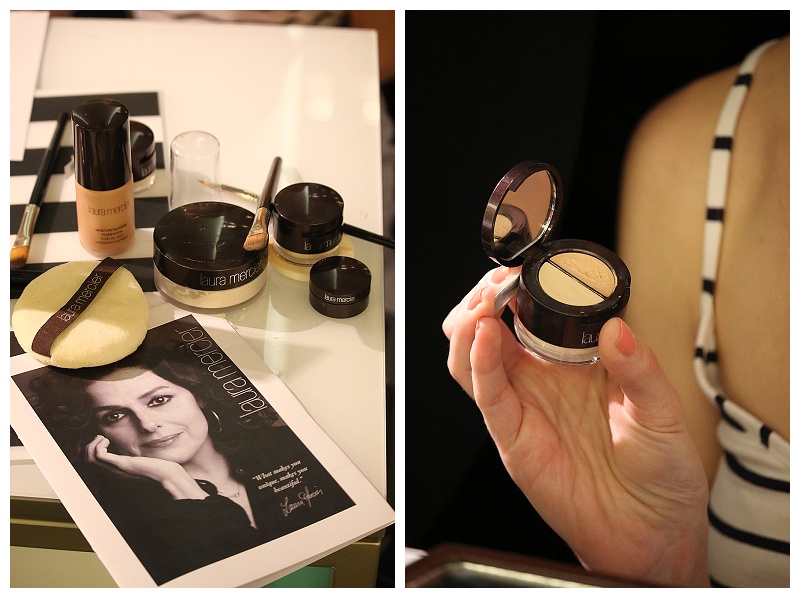
 Step 4: Set makeup with powder
After foundation and concealer application, I finished my undereye area using the ‘Secret Brightener’ powder, which is a white shimmery powder that sets the undereye concealer to maximize wear while brightening the eye area–I love how this instantly perked up my face! Apply using the Secret Camouflage powder brush in a gentle patting motion so the look is light and subtle; a little of this goes a long way and is not meant to be used on the entire face. The makeup artist swept translucent pressed finishing powder over the rest of my face, using a fan brush for light application.
Thanks for hanging in there for this long post and I hope you’ll also find it helpful for creating your flawless face!
Shop the products used from the tutorial here:
- Oil-free foundation primer
- Tinted moisturizer SPF 20
- Makeup sponges
- Secret Camouflage/Secret Concealer Undercover Pot
- Secret Camouflage palette
- Secret Camouflage concealer brush
- Secret Brightening powder
- Secret Camouflage powder brush
- Smooth Focus pressed setting powder
- Fan brush
Linking with Walking in Memphis in High Heels & The Fashion Canvas

